
Controllino is a powerful industrial PLC that is compatible with the Arduino IDE ecosystem. Today, we will covering you how to do a Controllino installation, controllino set-up of Arduino IDE, Controllino programming and also write a simple hello world program for it and upload it to the controllino board.
What softwares is the controllino installation compatible?
This controllino set up works great with Windows, Mac OS X, Linux: 32bits,64bits, ARM, and ARM64
Which models of Controllino this installation and configuration of Arduino IDE work with?
This installation of the Controllino models and configuration of Arduino IDE work with:
Step 1:
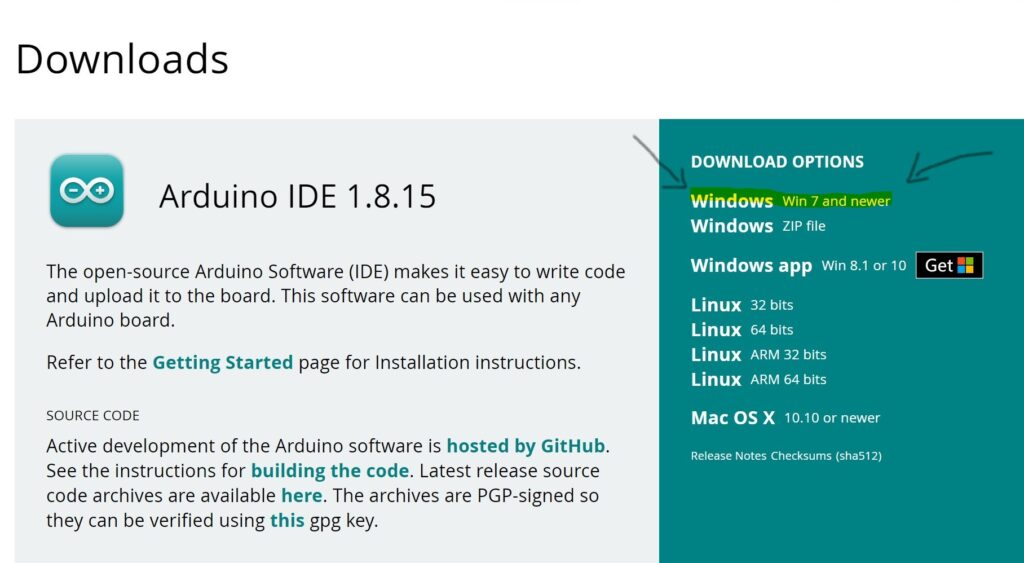
For the first step, we need to download the arduino ide:
https://www.arduino.cc/en/main/software
Choose your respective software for the controllino installation. For this example, we are going to use Windows. Thus, click on the first link shown in the page.
Step 2:
Once we choose the correct software to download the Arduino IDE a new window will come up asking if we would like to donate and download or just download. If you have extra money for this amazing software feel free to leave some money.
If you want to just download the Arduino IDE into your Controllino model just press Download.

Step 3:
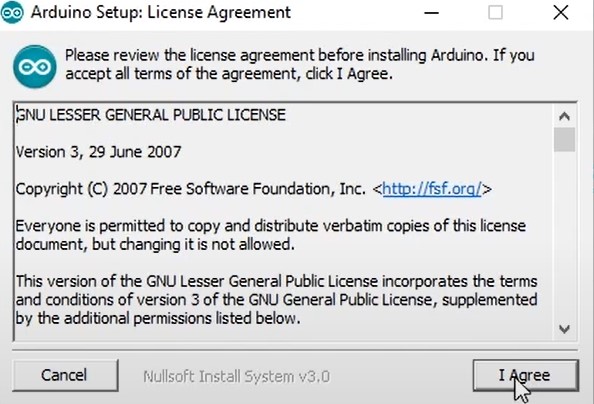
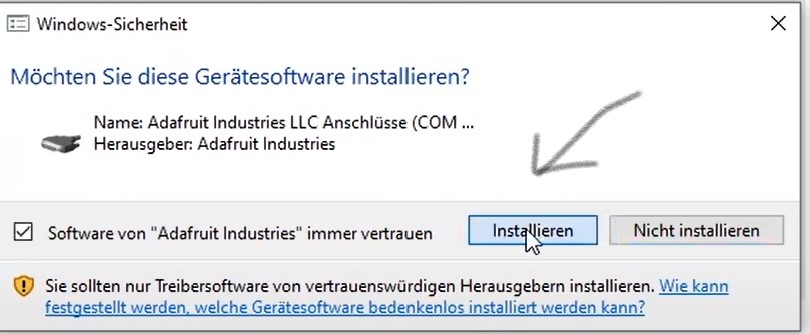
Installation process of Arduino IDE in this step we wil go over the installation process as if we are doing it with you. For this, just follow our instructions. Enjoy!
- After carefully reviewing the agreement… agree to the term and services of the Arduino IDE program.

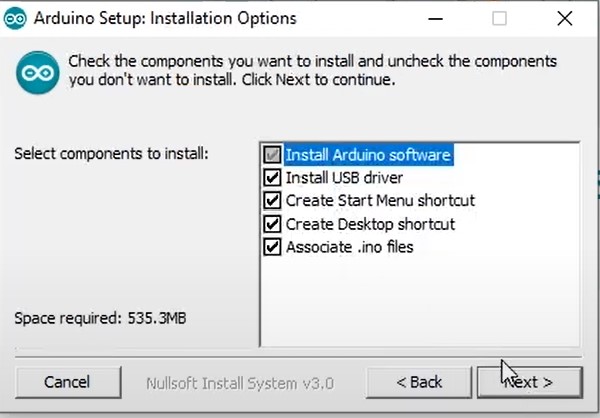
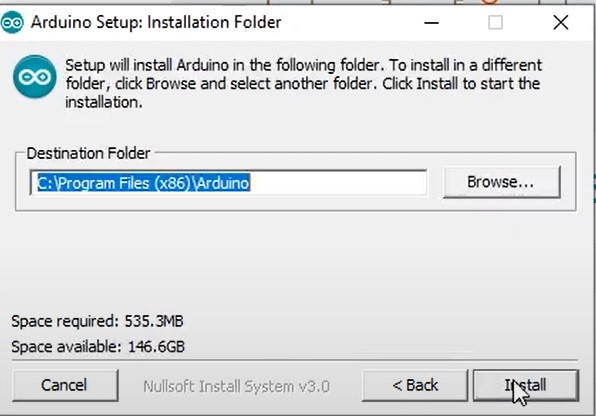
- Then, make sure everything looks correct

- Finally, we will start the installation process.

- Wait until it says this “Install”.

Step 4:
Open the freshly downloaded Arduino IDE. Before we can start developing with Controllino we need to do two things first:
First thing to do:
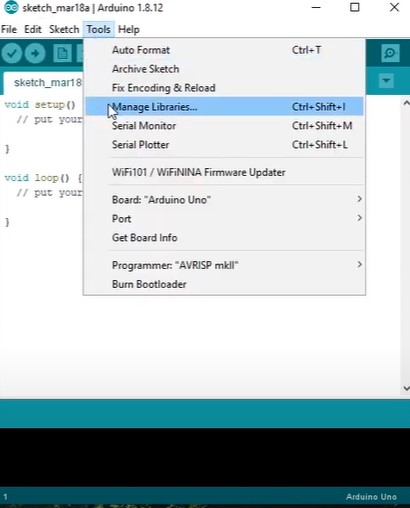
- Go to tools > then manage libraries

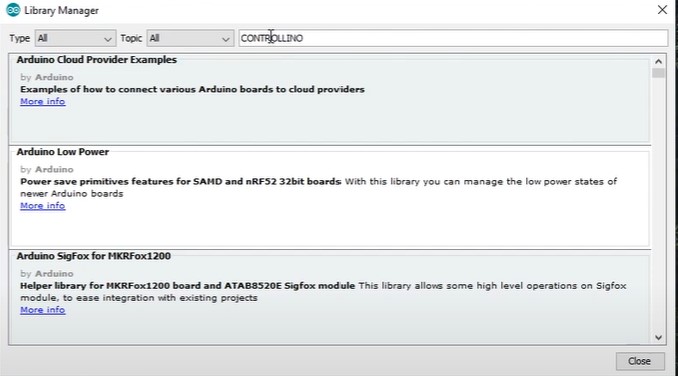
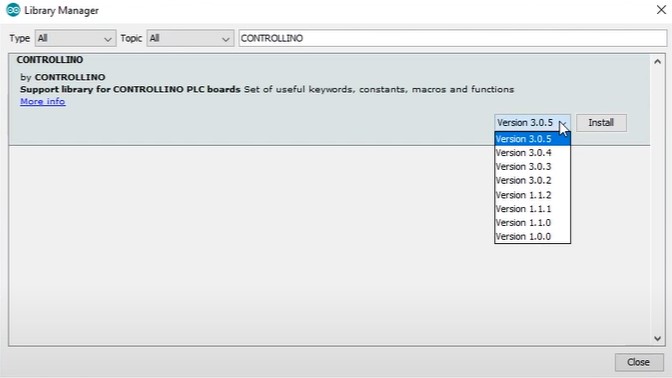
- Then, type Controllino in the search bar

- Finally, install the latest version of Controllino available by clicking install

Second thing to do:
Now, we need to copy the Controllino boards hardware definition. You can find it in the controllino website or here:
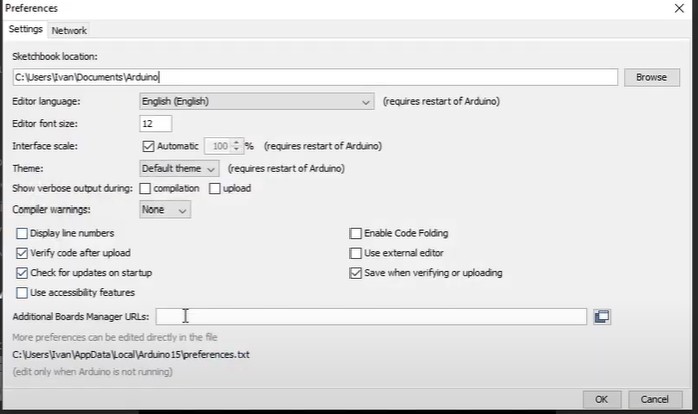
URLs: https://raw.githubusercontent.com/CONTROLLINO-PLC/CONTROLLINO_Library/master/Boards/package_ControllinoHardware_index.json - Click on files>preferences and then paste the link given

After pasting the link where it says “Additional Board Manager URLs” press OK.
Step 5
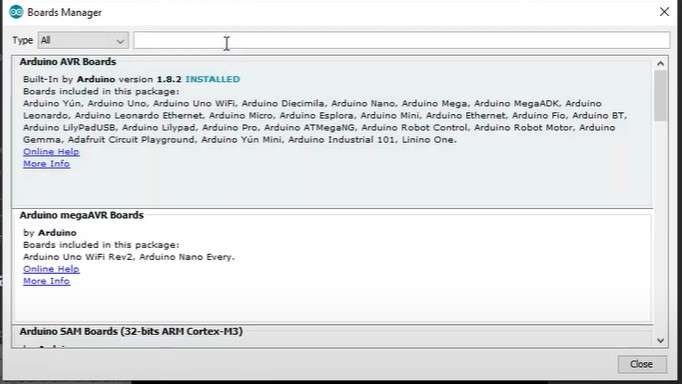
Open board manager again,
Steps: tools>boards>board manager > search for Controllino once more.
After this, install the lastest version of Controllino once more and wait a few minutes.
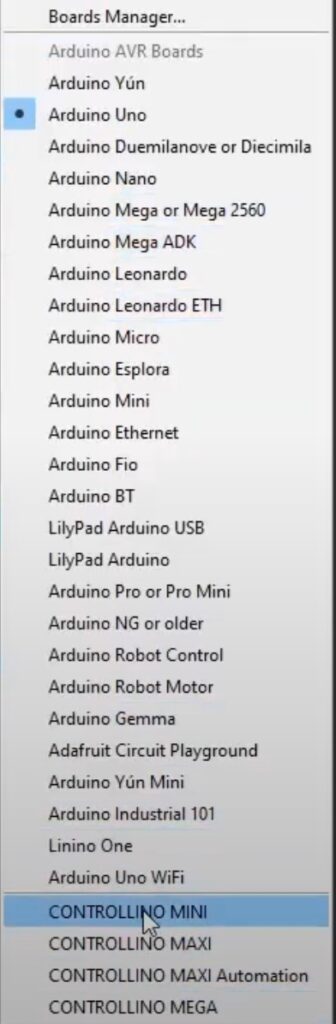
- If the installation was done correctly you are going to see your controllino boards under “boards”

Step 6
Warning– we will not cover how to do coding in this blog but only how to program the controllino and its applications.
- Controllino Programming, I know this is the moment you came for so here we come:
- First, include the Controllino library:
#include <Controllino.h> - Second, under the setup function we can now define the pin models for our Controllino I/O
we will configure d0 d1 d2 as output pins - Third, under the loop function will now activate the I/O one by one for a 100 milliseconds
- Fourth, write a digital function set it to high delayed by 100 milliseconds and then set it again to low. We can repeat this for the d1 and d2 pins
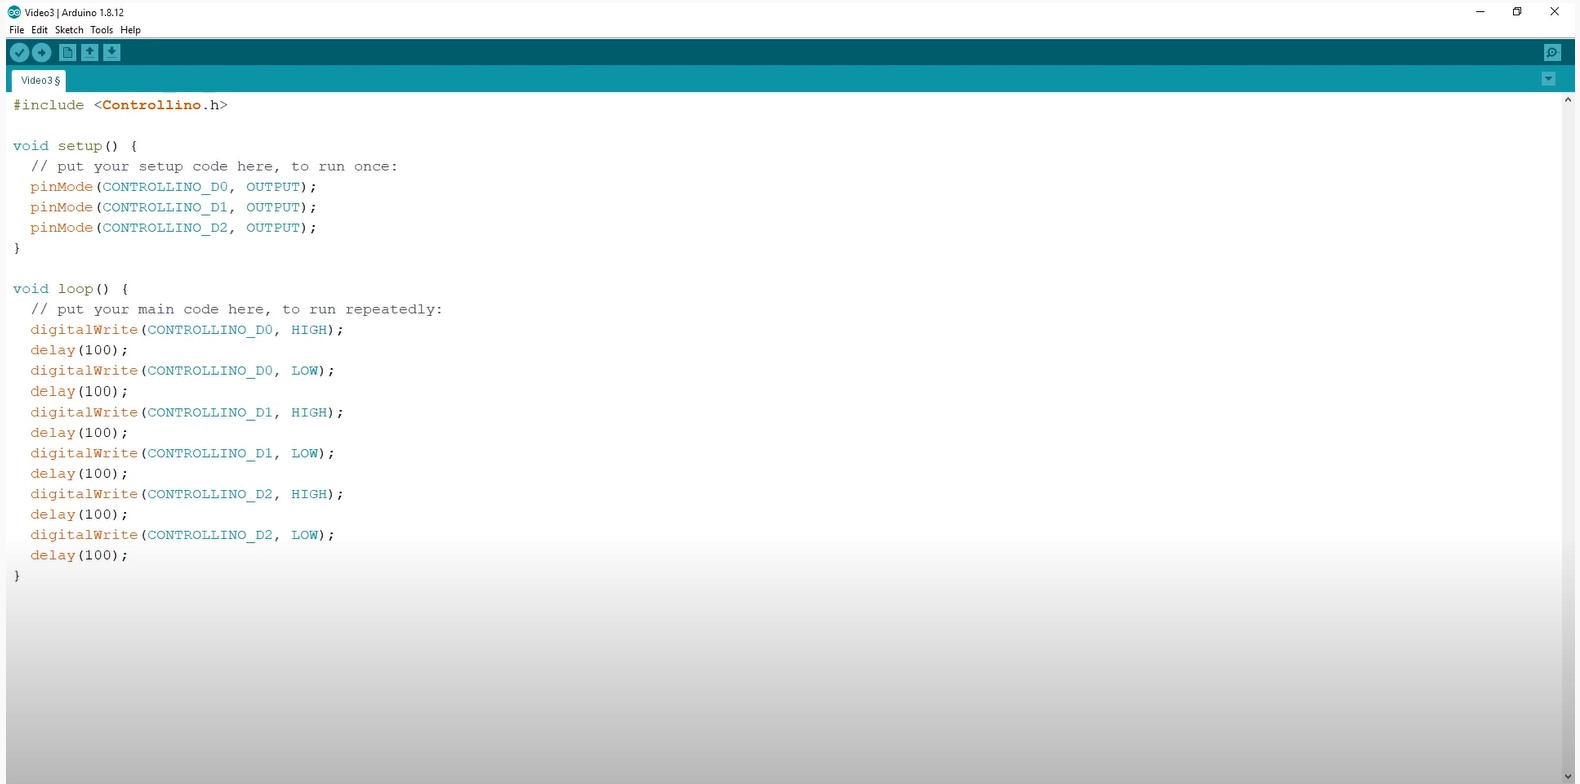
The controllino coding should look like this.
Step 7
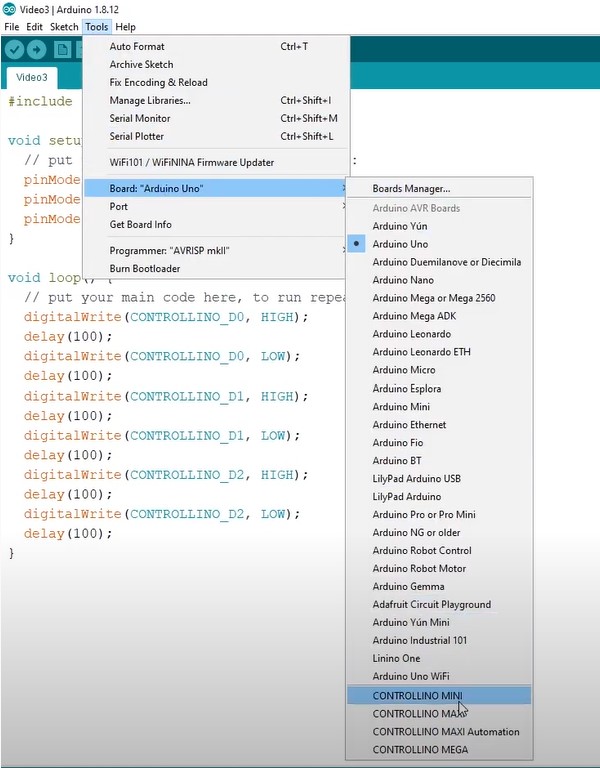
Now, we need to plug-in our controllino into our computer and choose the right board.
Steps: Tools>Boards> (choose your controllino model here)
At the same time, dont forget to check if you connected your controllino to the right port.
- Then click the “Upload bottom”, the code compiles, uploads and there we have it!
Step 8
To verify your Controllino installation was successful, check the lights in your controllino and if they are blinking then you made a good job!

We are glad we were able to help you in your journey installing a Controllino Mini, Controllino Maxi, Controllino Maxi Automation, and Controllino Mega into an Arduino IDE.
Visit our website:
https://www.logicbus.com/Controllino_c_5191.html
Contact us


sales@logicbus.com | support@logicbus.com | +1 619 616 7350 | Start conversation